How to Make Self-Rising Flour at Home (Easy DIY Recipe)
Ever found yourself in the middle of a recipe only to realize you’re out of self-rising flour? Don’t panic! The good news is, you can make your own this recipe at home with just three basic ingredients you probably already have in your kitchen. In this guide, I’ll walk you through everything you need to know about self-rising flour, from its uses to troubleshooting common mistakes. Let’s dive in!
Table of Contents
What Is Self-Rising Flour?
Definition and Origin of this recipe
Self-rising flour isn’t just a fancy name for flour; it’s an essential ingredient that makes baking a breeze. At its core, this recipe is simply all-purpose flour with baking powder and salt already mixed in. The “self-rising” part comes from the leavening agent (baking powder), which helps your baked goods rise perfectly without needing additional ingredients.
Believe it or not, this recipe has its roots in Southern baking traditions. It was first invented in the 1800s by an English baker who wanted to create a convenient flour blend for sailors. Since then, it’s become a staple in kitchens around the world, especially for biscuits, cakes, and quick breads.
Common Uses of Self-Rising Flour in Baking
Wondering what you can make with this recipe? The possibilities are endless! Here are just a few classic recipes where self-rising flour shines:
- Fluffy biscuits that melt in your mouth 🍰
- Light and airy pancakes
- Quick breads with perfect texture
- Golden, tender cakes
Think of it as your secret weapon for any recipe where you need a little lift without a lot of effort.
Why Make Self-Rising Flour at Home?
Benefits of Homemade Self-Rising Flour
You might be asking yourself, “Why should I bother making self-rising flour at home when I can buy it at the store?” Great question! Here are a few reasons:
- Cost-Effective: Store-bought self rising flour is often pricier than regular flour. Making it at home is budget-friendly.
- Customizable: Need a gluten-free version? Want to adjust the salt content? You’re in control when you DIY.
- Convenience: Sometimes, you just don’t have time to run to the store. Having a homemade option saves you time and stress.
Cost Comparison: Store-Bought vs. Homemade
Let’s break it down. A standard bag of self rising flour recipe might cost a few dollars, but the ingredients to make your own (all-purpose flour, baking powder, and salt) cost mere pennies per batch. Plus, you probably already have these staples in your pantry, so there’s no extra expense.
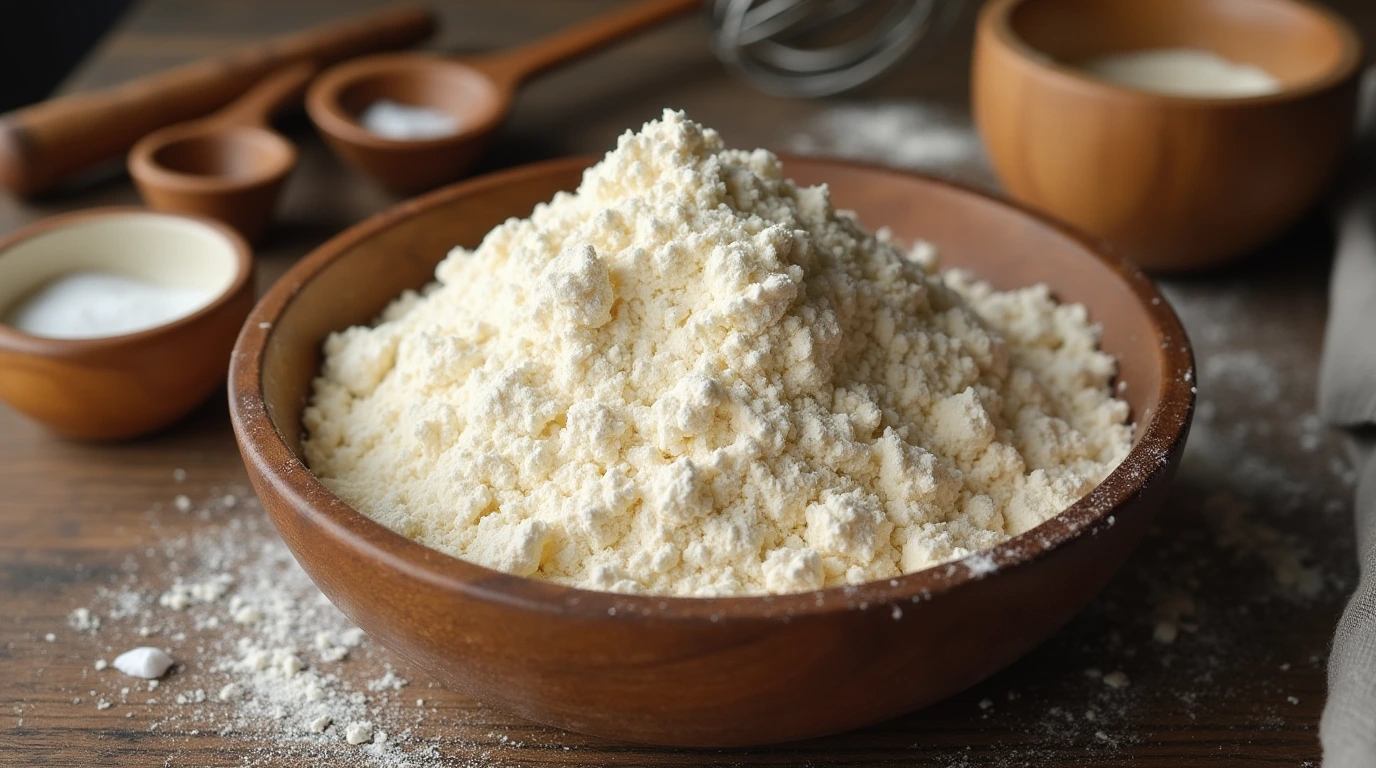
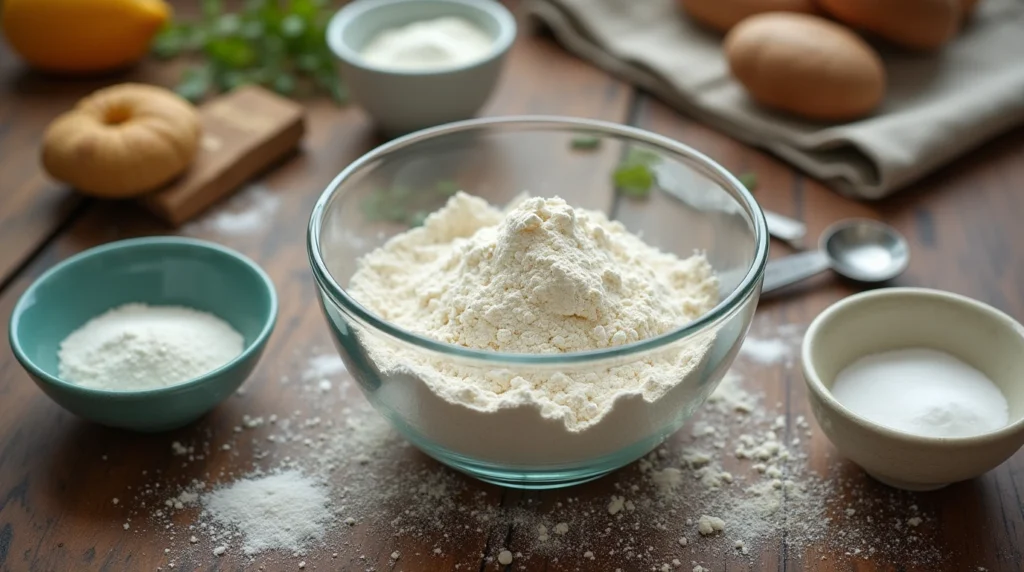
Ingredients for Homemade Self-Rising Flour
Key Ingredients Explained
Making self rising flour recipe requires just three ingredients:
- All-Purpose Flour: The base of your mix. It’s versatile and perfect for most baking recipes.
- Baking Powder: The leavening agent that gives your baked goods their rise. Make sure it’s fresh!
- Salt: Adds flavor and balances the sweetness in your recipes.
These ingredients work together in harmony to create the magic of self-rising flour. The ratios are key, so let’s get into that in the next section.
Are There Substitutes for These Ingredients?
If you’re out of one of the key ingredients, don’t worry. Here are some handy substitutes:
- No Baking Powder? Use a mix of baking soda and cream of tartar instead. The combination mimics the effect of baking powder.
- Low on Salt? You can leave it out and add salt separately to your recipe, though it’s better to include it in your flour mix.
Pro Tip: Always sift your ingredients together to ensure even distribution and prevent lumps in your mix.
Step-by-Step Guide: How to Make this recipe
Measuring Ingredients Accurately
Accuracy is the name of the game when it comes to baking. Here’s the perfect ratio for homemade rising recipes:
- 1 cup of all-purpose flour
- 1 ½ teaspoons of baking powder
- ¼ teaspoon of salt
To scale the recipe, just multiply these ratios by the number of cups you need. For example, if you need 3 cups of self-rising flour, triple the amounts.
Mixing and Storing Your Flour Blend
Once you’ve measured your ingredients:
- Combine them in a large mixing bowl.
- Whisk everything together thoroughly to ensure the baking powder and salt are evenly distributed.
- Store the blend in an airtight container to keep it fresh.
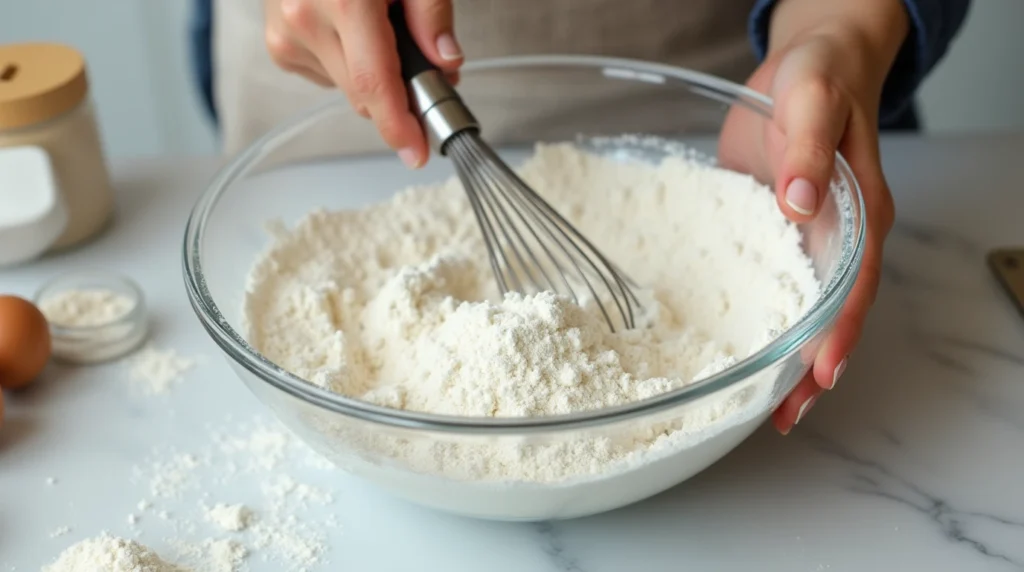
That’s it! You now have homemade self-rising flour ready to go.
Common Mistakes When Making this recipe
Incorrect Ingredient Ratios
Using the wrong ratio is one of the biggest pitfalls. Too much baking powder can make your baked goods taste metallic, while too little won’t give them enough rise. Stick to the recommended measurements for foolproof results.
Using Expired Baking Powder or Flour
Freshness matters! Expired baking powder won’t provide the lift your recipes need, and old flour can have an off taste. Always check expiration dates before you start.
Pro Tip: Store your baking powder in a cool, dry place to extend its shelf life.
How to Test the Freshness of Your Baking Powder and Flour
Testing Baking Powder for Activity
Before you start mixing, make sure your baking powder is still effective. Here’s how:
- Take a small bowl and add ½ teaspoon of baking powder.
- Pour ¼ cup of hot water over it.
- If it fizzes vigorously, your baking powder is good to go. If not, it’s time to replace it.
Checking Flour Quality
Flour that has been sitting too long can go rancid or even attract pests. To check:
- Smell Test: Fresh flour has a neutral, slightly nutty scent. If it smells sour or off, toss it.
- Visual Check: Look for discoloration or clumps, which could indicate spoilage.
Tips for Storing this recipe
Keep It Airtight
Moisture is the enemy of flour blends. Use an airtight container to prevent clumping and preserve freshness. A mason jar or a resealable plastic container works perfectly.
Label and Date Your Blend
To avoid confusion, label your container with “Self-Rising Flour” and note the date you made it. While it can last up to six months, using it within three months ensures optimal results.
Store in a Cool, Dry Place
Keep your self-rising flour in a pantry or cupboard away from heat and light. Avoid the fridge unless you’re in a very humid climate.
Pro Tip: Add a bay leaf to your flour container—it naturally deters pests! 🌿
Recipes to Try with Homemade Self-Rising Flour
Classic Southern Biscuits
Whip up fluffy biscuits that rival any bakery. Combine your recipe with cold butter, milk, and a touch of sugar for a melt-in-your-mouth treat.
Quick Pancakes
Skip the box mix! Your homemade self-rising flour is all you need for light and airy pancakes. Pair with syrup and fresh berries for a breakfast to remember.
Simple Banana Bread
Elevate your banana bread with the perfect lift from this recipe. It’s a game-changer for moist, evenly risen slices. 🍌
FAQs
Can I Make Gluten-Free this recipe?
Absolutely! Simply use gluten-free all-purpose flour in place of regular flour. Be sure the brand you choose already has xanthan gum or another binding agent included for best results.
How Long Can I Store Homemade Self-Rising Flour?
When stored in an airtight container in a cool, dry place, homemade self-rising flour can last up to six months. For extended freshness, consider storing it in the refrigerator or freezer.
Can I Use Self-Rising Flour as a Substitute for All-Purpose Flour?
Yes, but keep in mind that self-rising flour already contains leavening and salt. Adjust your recipe by reducing or omitting these additional ingredients.
By mastering this simple DIY recipe, you’ll never be caught without self-rising flour again. Happy baking!
Can I Substitute Self-Rising Flour in Any Recipe?
Substituting self-rising flour in recipes depends on what you’re making. It works perfectly in recipes designed for it, like biscuits, pancakes, and quick breads. However, for yeast-based recipes like bread or pizza dough, self-rising flour isn’t a good fit since the leavening agents conflict.
If you’re adapting a recipe, omit any extra baking powder or salt to avoid over-leavening. It might take some trial and error, but experimenting is half the fun of baking!
What Happens if I Use Too Much or Too Little?
Using too much self-rising flour can lead to overly puffy or dry baked goods with a metallic aftertaste due to the excess baking powder. On the flip side, using too little means your treats might turn out dense and underwhelming.
Pro Tip: Always follow the recipe’s measurements closely and double-check your ratios when making self-rising flour at home.
Conclusion
Why this recipe Is a Must-Have for Every Baker
Self-rising flour is a game-changer for anyone who loves to bake. Its convenience, versatility, and ease of use make it a must-have in your kitchen. Whether you’re whipping up fluffy biscuits or a quick cake, having self-rising flour on hand can save you time and effort.
Try This DIY Recipe Today!
Now that you know how easy it is to make self rising flour recipes at home, why not give it a try? With just three simple ingredients, you can create a baking staple that’s always fresh and ready to use.
📢 Share this recipe with your friends and family! Help them discover how simple and cost-effective it is to make this recipe at home. Sharing is caring—and who knows, you might inspire someone to start their own baking journey
Review Our Recipe: Your Feedback Makes a Difference
There are no reviews yet. Be the first one to write one.